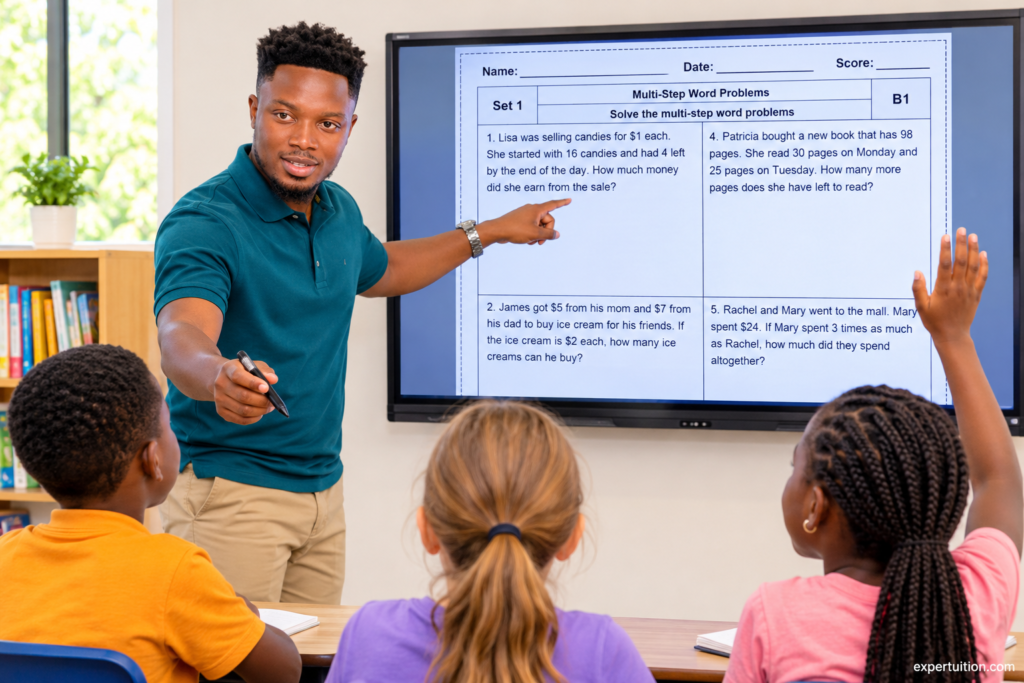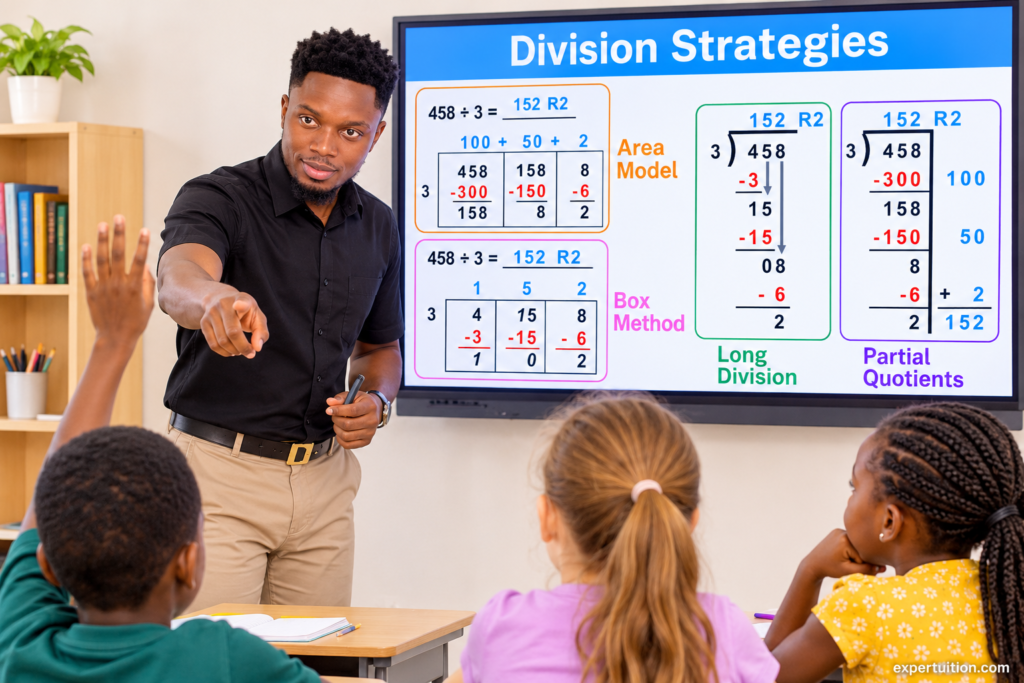
Learn how to teach measurement in Grade 4 with practical strategies for unit conversions, measurement word problems, scaled number lines, and rectangle area and perimeter. Build students’ measurement understanding through models, hands-on activities, and problem-solving.
Build Students’ Understanding of Measurement Through Estimation and Hands-On Experiences
Students need more than conversion rules and formulas to work confidently with measurement. They must recognize what different units represent, make reasonable estimates, and understand the quantities they are comparing or calculating. Begin with familiar measurement experiences that allow students to handle tools, estimate quantities, and check their thinking against actual measurements.
Activate Prior Knowledge and Develop Measurement Benchmarks
Before introducing new measurement relationships, find out what students already know about length, liquid volume, mass, and time. Give them familiar objects and situations to discuss. Show them a meter stick, a one-liter container, and a one-kilogram object. Ask what each measures, which units might be appropriate, and where they encounter those measurements in everyday life.
Help students establish measurement benchmarks they can use when estimating. A meter stick provides a reference for length, a one-liter container helps them visualize liquid volume, and a familiar one-kilogram object gives them a reference for mass. For smaller units, discuss familiar objects that weigh approximately one gram or measure about one centimeter.
Time also needs familiar reference points. Have students describe activities that take about one minute, five minutes, or an hour. They can compare the time needed to complete a short classroom task with the time spent on a longer activity.
Use these benchmarks to discuss whether estimates are reasonable. If a student estimates that a classroom door is 20 centimeters tall, ask them to compare that estimate with a meter stick. The comparison should help them recognize that the estimate is too small and revise it.
The aim is not to make students memorize a list of benchmarks. It is to give them useful reference points they can draw on when estimating unfamiliar measurements.
Develop Measurement Sense Through Estimation and Actual Measurement
Give students opportunities to estimate before using a measuring tool. This encourages them to think about the quantity and unit rather than simply read a measurement.
For example, ask students to estimate the length of a desk in centimeters. Have them explain which familiar measurement or object they used as a reference. Then let them measure the desk with a ruler or measuring tape. Record the estimates and actual measurements, compare the results, and discuss which estimates were closest. Ask students what they could use as a better reference next time.
Follow a consistent routine:
- Present an object or measurement situation.
- Ask students to estimate before measuring.
- Have them explain the benchmark behind their estimate.
- Measure the object or quantity using an appropriate tool.
- Compare the estimate with the actual measurement.
- Discuss what the comparison reveals and whether the estimate needs revising.
Match the measuring tool to the quantity:
- Length: rulers, meter sticks, and measuring tapes.
- Liquid volume: graduated containers and measuring cups.
- Mass: balance scales and suitable masses.
- Time: clocks, timers, and number lines.
For liquid volume, pour the same amount of water into containers with different shapes. Ask students whether the amount of liquid has changed because it reaches a different height. Have them measure the contents to check their predictions. This helps students distinguish the quantity being measured from the appearance of the container.
For length, let students measure the same object using different units. They might measure a desk in centimeters and then in meters, where appropriate. Discuss why the numerical measurements differ even though the desk has not changed size.
Use these activities to develop three connected habits: choosing an appropriate unit, estimating a reasonable measurement, and checking an estimate against an actual measurement. Students will draw on these habits when they begin converting units and solving measurement problems.
Teach Measurement Unit Relationships and Conversions Using Concrete Models
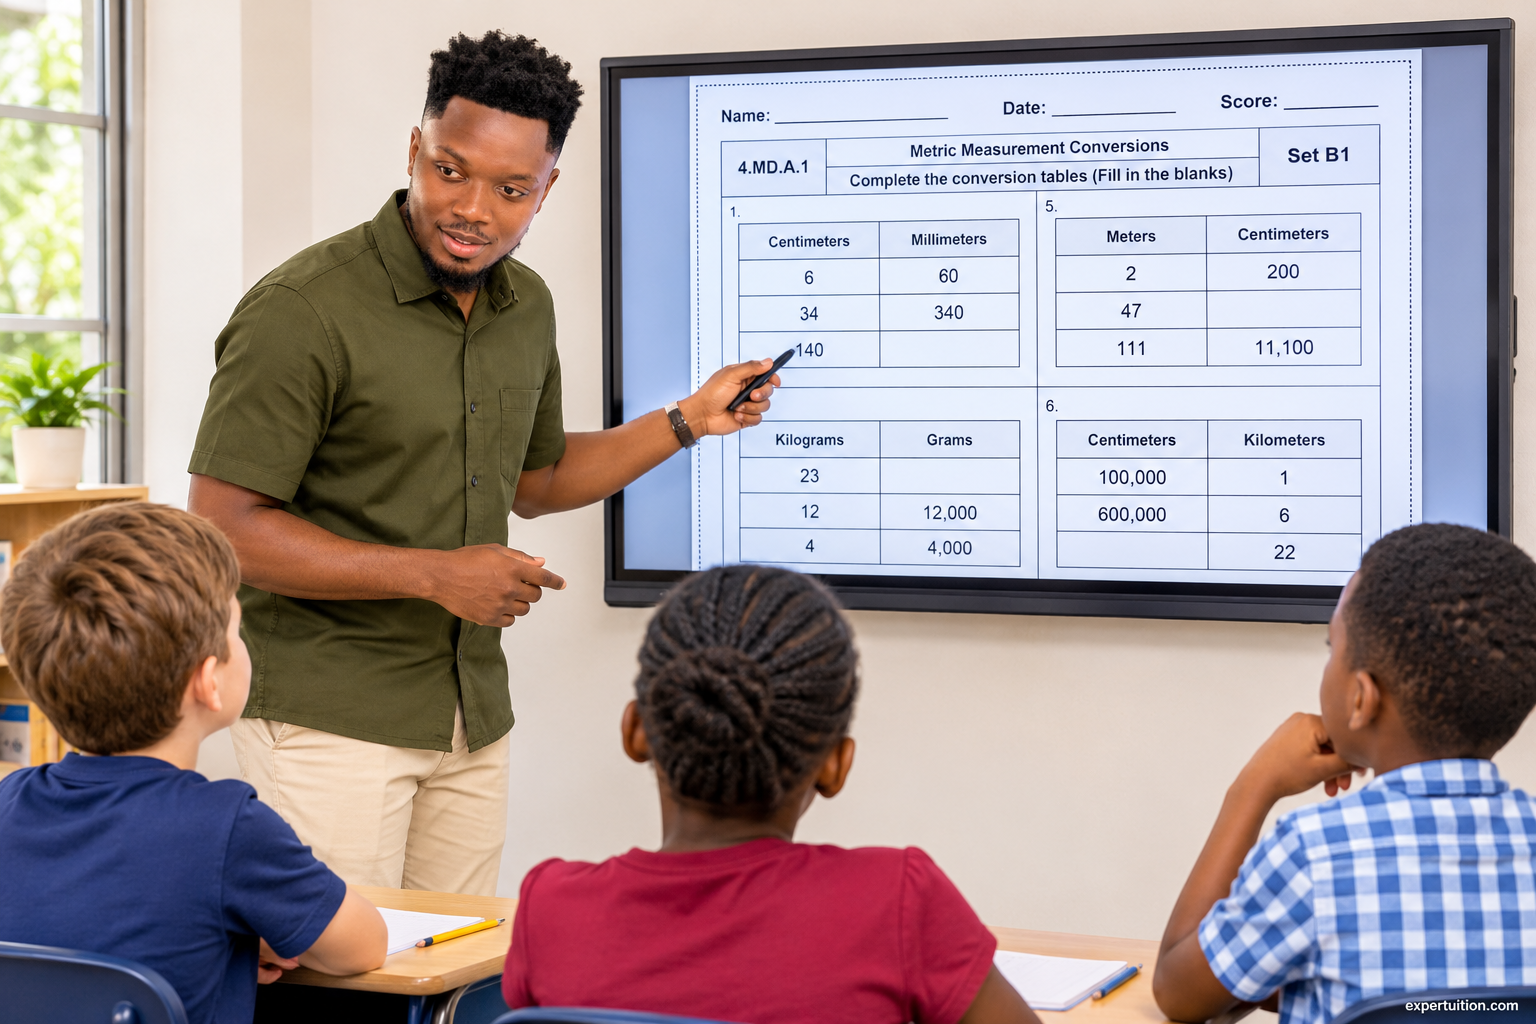
Grade 4 standard 4.MD.A.1 requires students to understand the relative sizes of units within one measurement system, express measurements in larger units in terms of smaller units, and record equivalent measurements in two-column tables. The standard includes relationships involving length, mass, liquid volume, and time. Students need to understand why two measurements can represent the same quantity even when their numerical values differ.
Help Students Understand the Relationships Between Larger and Smaller Units
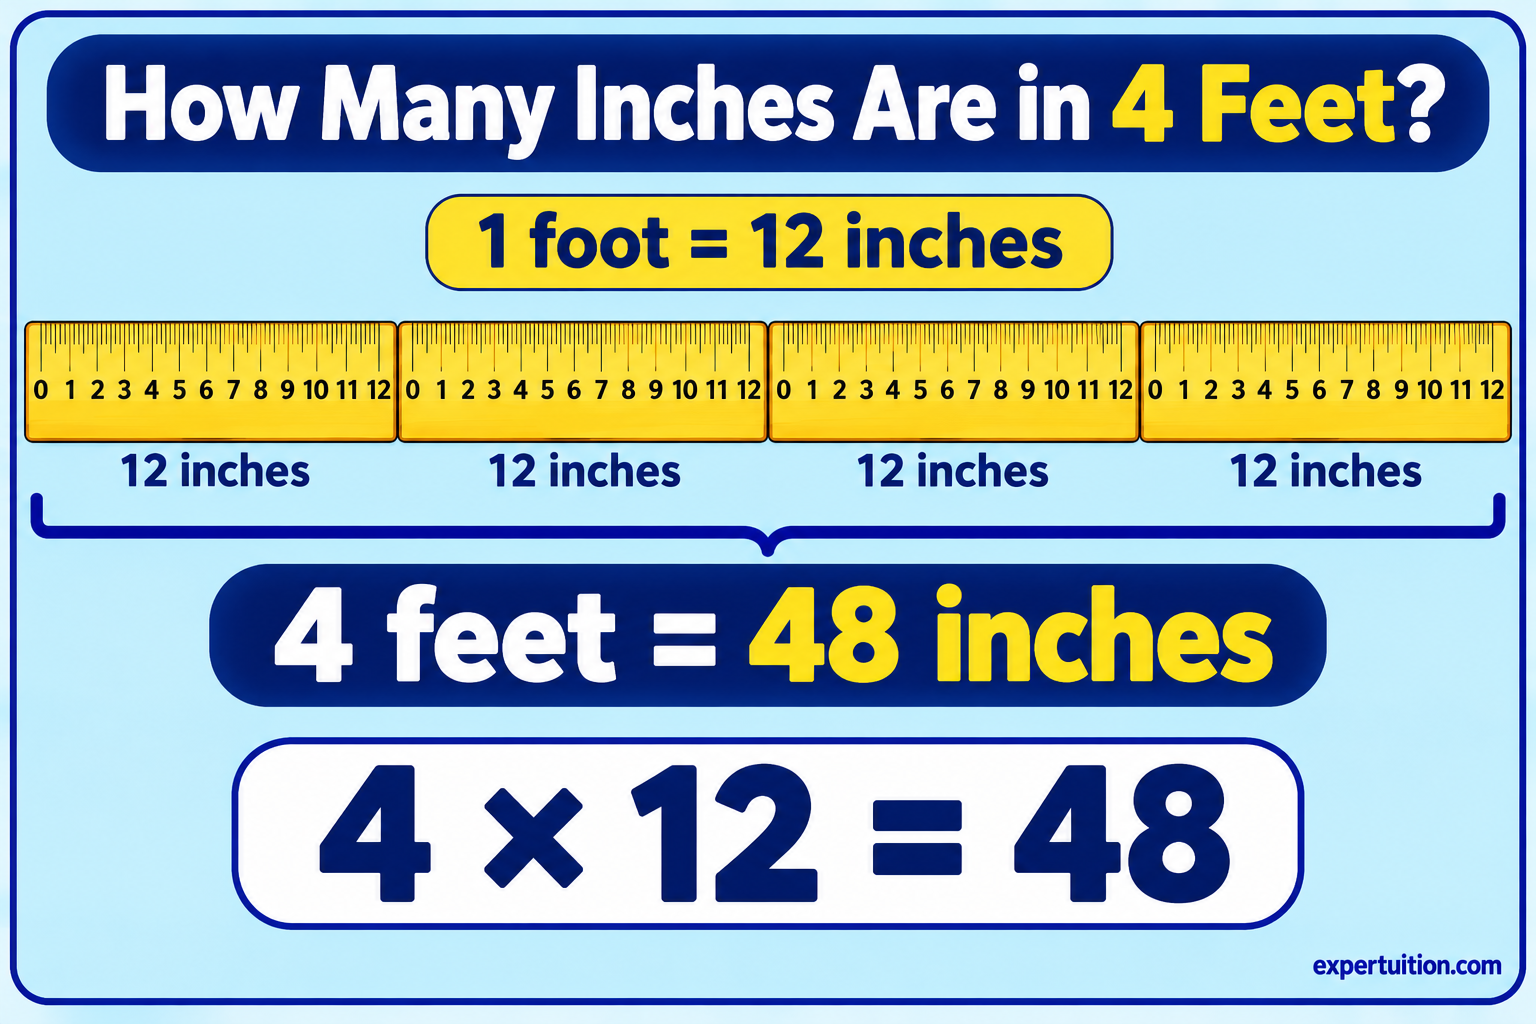
Start with a unit relationship students can see and represent. For example, use a ruler or a one-foot measuring strip to establish that:
1 foot = 12 inches
Have students identify the number of inches in two feet, three feet, and four feet. Use repeated groups of 12 to show how the relationship works:
- 1 foot = 12 inches
- 2 feet = 24 inches
- 3 feet = 36 inches
- 4 feet = 48 inches
Students can model this with measuring strips or drawings divided into equal groups. Each additional foot adds another 12 inches. The model makes the relationship visible before students use multiplication to calculate larger conversions.
Keep customary and metric relationships separate. Students should convert within one measurement system rather than combine units from different systems.
Extend the discussion to other customary and metric relationships:
| Measurement system | Larger unit | Equivalent smaller units |
|---|---|---|
| Customary length | 1 yard | 3 feet |
| Customary length | 1 foot | 12 inches |
| Customary mass | 1 pound | 16 ounces |
| Metric length | 1 meter | 100 centimeters |
| Metric length | 1 kilometer | 1,000 meters |
| Metric mass | 1 kilogram | 1,000 grams |
| Metric liquid volume | 1 liter | 1,000 milliliters |
Use measuring tools and familiar objects to make these relationships meaningful. A meter stick can show the relationship between meters and centimeters. A one-liter container and smaller measuring containers can help students explore liters and milliliters. For mass, use suitable objects and a balance scale to compare kilograms and grams.
Include time relationships as well:
- 1 hour = 60 minutes
- 1 minute = 60 seconds
Point out that time does not follow the same base-ten pattern as metric units. Students must use the actual relationship rather than assume that every conversion involves multiplying or dividing by 10, 100, or 1,000.
Connect Measurement Conversions to Multiplication and Division
Once students can explain a unit relationship, connect it to multiplication and division.
Return to the relationship:
1 foot = 12 inches
If one foot contains 12 inches, four feet contain four groups of 12 inches:
4 × 12 = 48
Therefore, 4 feet = 48 inches.
Show students how the same relationship works in reverse. If a length measures 48 inches, they can divide by 12 to determine how many feet it represents:
48 ÷ 12 = 4
Therefore, 48 inches = 4 feet.
Use a physical model or drawing to support both calculations. Students should see that multiplication finds the total number of smaller units, while division determines how many larger units are represented by a given number of smaller units.
Pay attention to the direction of the conversion. Expressing a measurement in smaller units produces a larger numerical value because more of those units are needed to measure the same quantity. Expressing it in larger units produces a smaller numerical value when the conversion is exact.
A common error is to assume that every conversion makes the number smaller. Compare four feet with 48 inches to address this misunderstanding. Both measurements describe the same length. The number changes because the unit changes, not because the length itself changes.
Use Two-Column Tables to Represent Equivalent Measurements
After students have explored unit relationships and used multiplication to generate equivalent measurements, organize the results in two-column tables.
Have students build a table using feet and inches:
| Feet | Inches |
|---|---|
| 1 | 12 |
| 2 | 24 |
| 3 | 36 |
| 4 | 48 |
| 5 | 60 |
Ask students to describe the relationship between the two columns. Each increase of one foot corresponds to an increase of 12 inches. They can also explain that the number of inches is 12 times the number of feet.
Next, provide an incomplete table:
| Feet | Inches |
|---|---|
| 1 | 12 |
| 2 | 24 |
| 3 | ? |
| 4 | 48 |
| 5 | ? |
Have students find the missing values and explain how they used the relationship. They might multiply the number of feet by 12, use repeated addition, or extend the pattern. Discuss why each method produces equivalent measurements.
Repeat the activity with appropriate metric and customary relationships, including time. Encourage students to create their own tables and explain what the numbers represent.
For a fuller explanation of unit relationships, conversion methods, and worked examples, see Grade 4 Measurement Conversions: Customary and Metric Units.
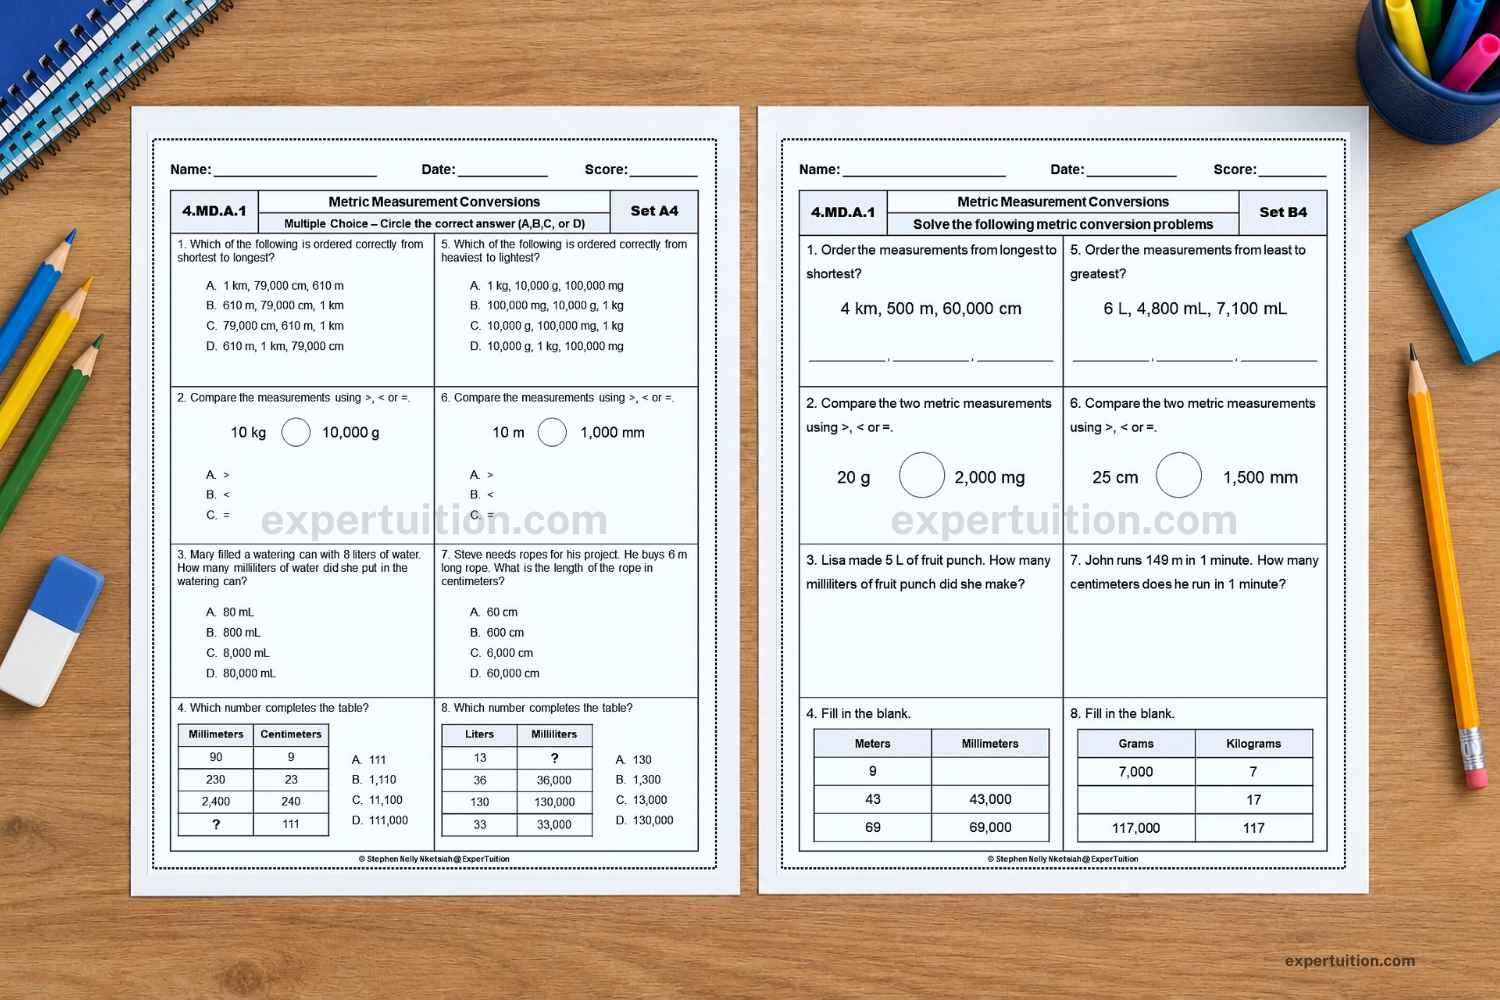
When students are ready for additional practice, the Customary and Metric Systems Measurement Conversion Worksheets Bundle and Customary and Metric Conversions Task Cards Bundle offer separate printable practice options. You can also explore the Measurement Conversions collection for additional resources.
Teach Students to Solve Measurement Word Problems Using Mathematical Reasoning
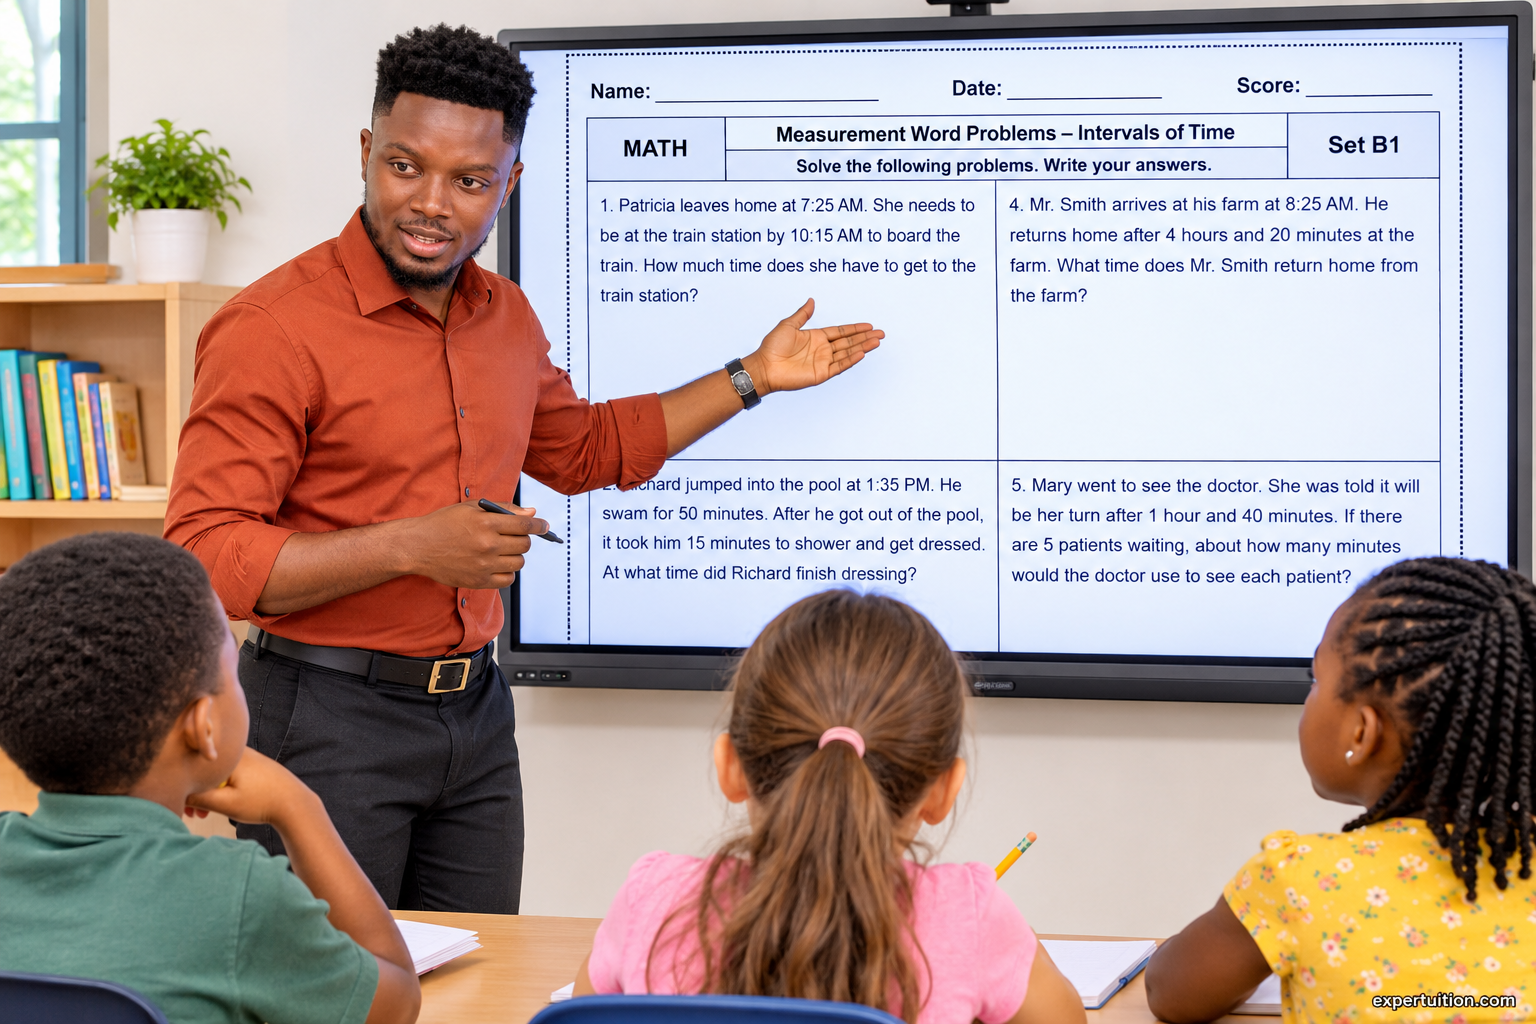
Grade 4 standard 4.MD.A.2 requires students to use all four operations to solve word problems involving distances, time intervals, liquid volumes, masses, and money. The problems may involve simple fractions, decimals, and conversions from larger units to smaller units. Students also need to represent measurement quantities using diagrams, including number lines with measurement scales.
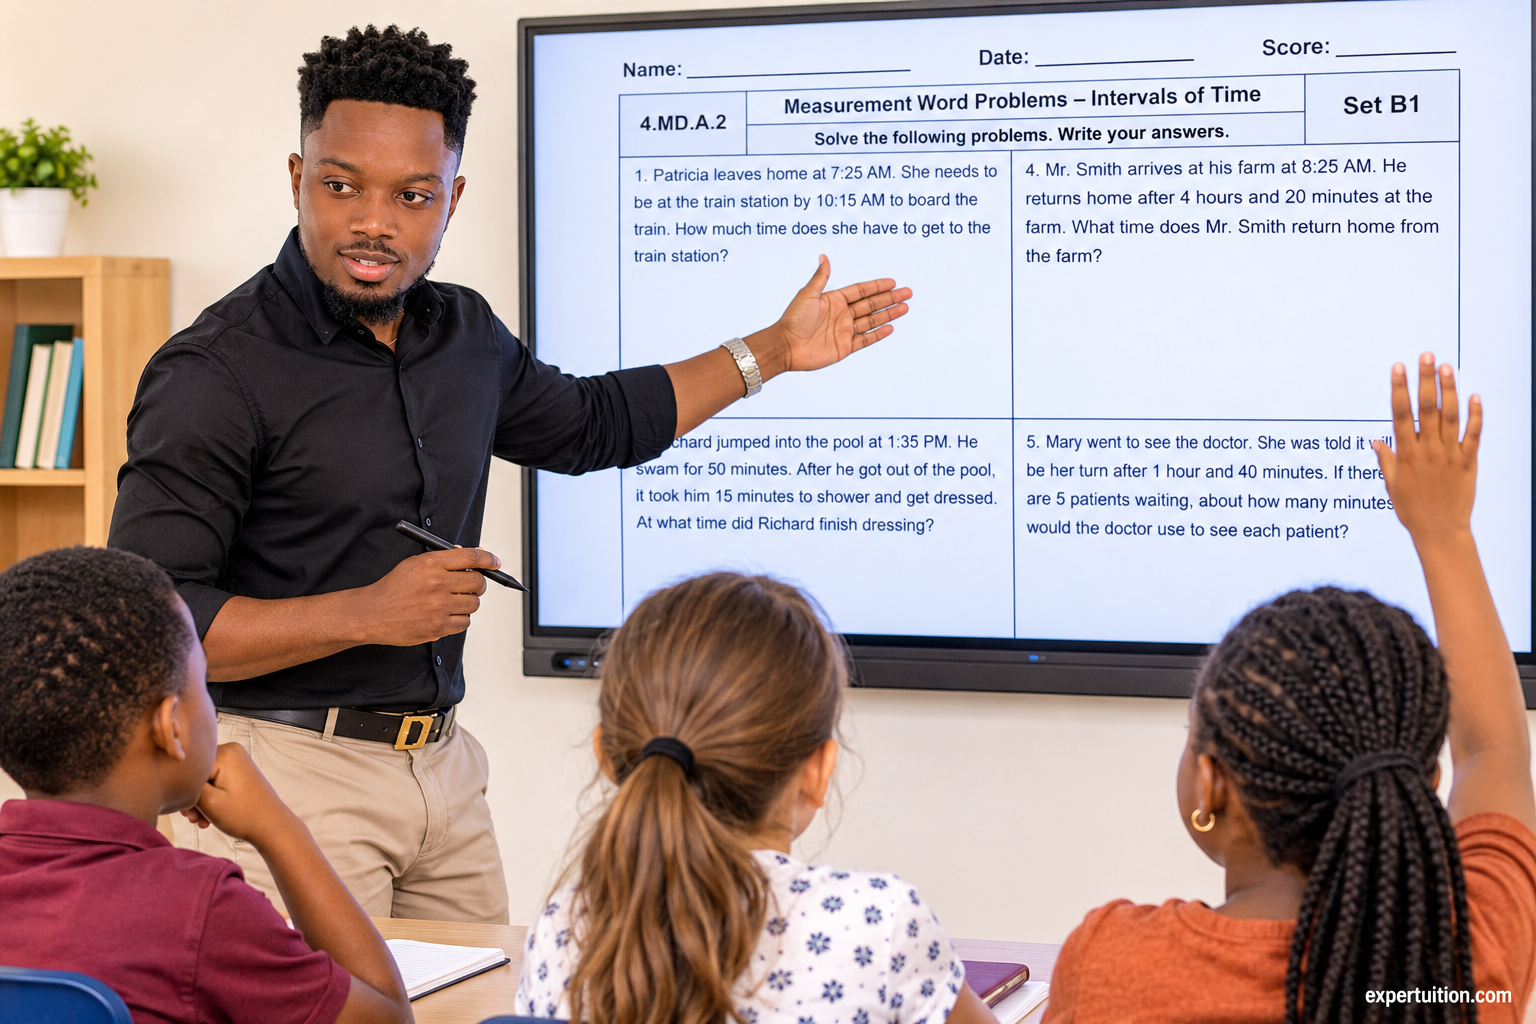
Teach students to move from understanding a situation to representing its quantities, choosing an operation, and interpreting the result. This gives them a consistent way to approach different types of measurement problems without relying on keywords or memorized procedures.
Teach Students to Interpret Measurement Situations Before Calculating
Present a problem and give students time to identify what is happening before they calculate.
For example:
A water container holds 15 liters. The water is poured equally into 5 smaller containers. How much water goes into each container?
Have students identify the total amount of water, the number of equal groups, and what the problem asks them to find. A quick drawing of five containers can help them see that the 15 liters must be shared equally.
They can then represent the situation with division:
15 ÷ 5 = 3
Each smaller container holds 3 liters.
Use questions that help students identify the relationship between the quantities:
- What do the numbers in the problem represent?
- What is happening to the measurement?
- Are quantities being combined, compared, or shared equally?
- What does the problem ask you to find?
- Are the measurements expressed in the same unit?
Avoid teaching students to select operations by looking for keywords alone. A word such as each or more does not automatically determine the operation. Students need to interpret the situation and decide what relationship the calculation must represent.
Use Visual Representations to Help Students Understand Measurement Problems
Choose diagrams that match the mathematical relationship in the problem. A visual model can help students organize the information and decide how to calculate.
- Bar models can represent equal groups, totals, and comparisons between measurements.
- Number lines can show elapsed time, distances, and quantities that increase or decrease along a measurement scale.
- Tables can organize related measurements and make patterns or equivalent quantities easier to identify.
- Drawings and labeled diagrams can help students identify the known and unknown quantities in a problem.
For example, suppose an activity begins at 7:45 a.m. and ends at 8:20 a.m. Ask students to represent the elapsed time on a number line by counting forward from the starting time.
They can break the interval into two convenient jumps:
- 7:45 a.m. to 8:00 a.m. = 15 minutes
- 8:00 a.m. to 8:20 a.m. = 20 minutes
Then combine the intervals:
15 + 20 = 35 minutes
The activity lasts 35 minutes.
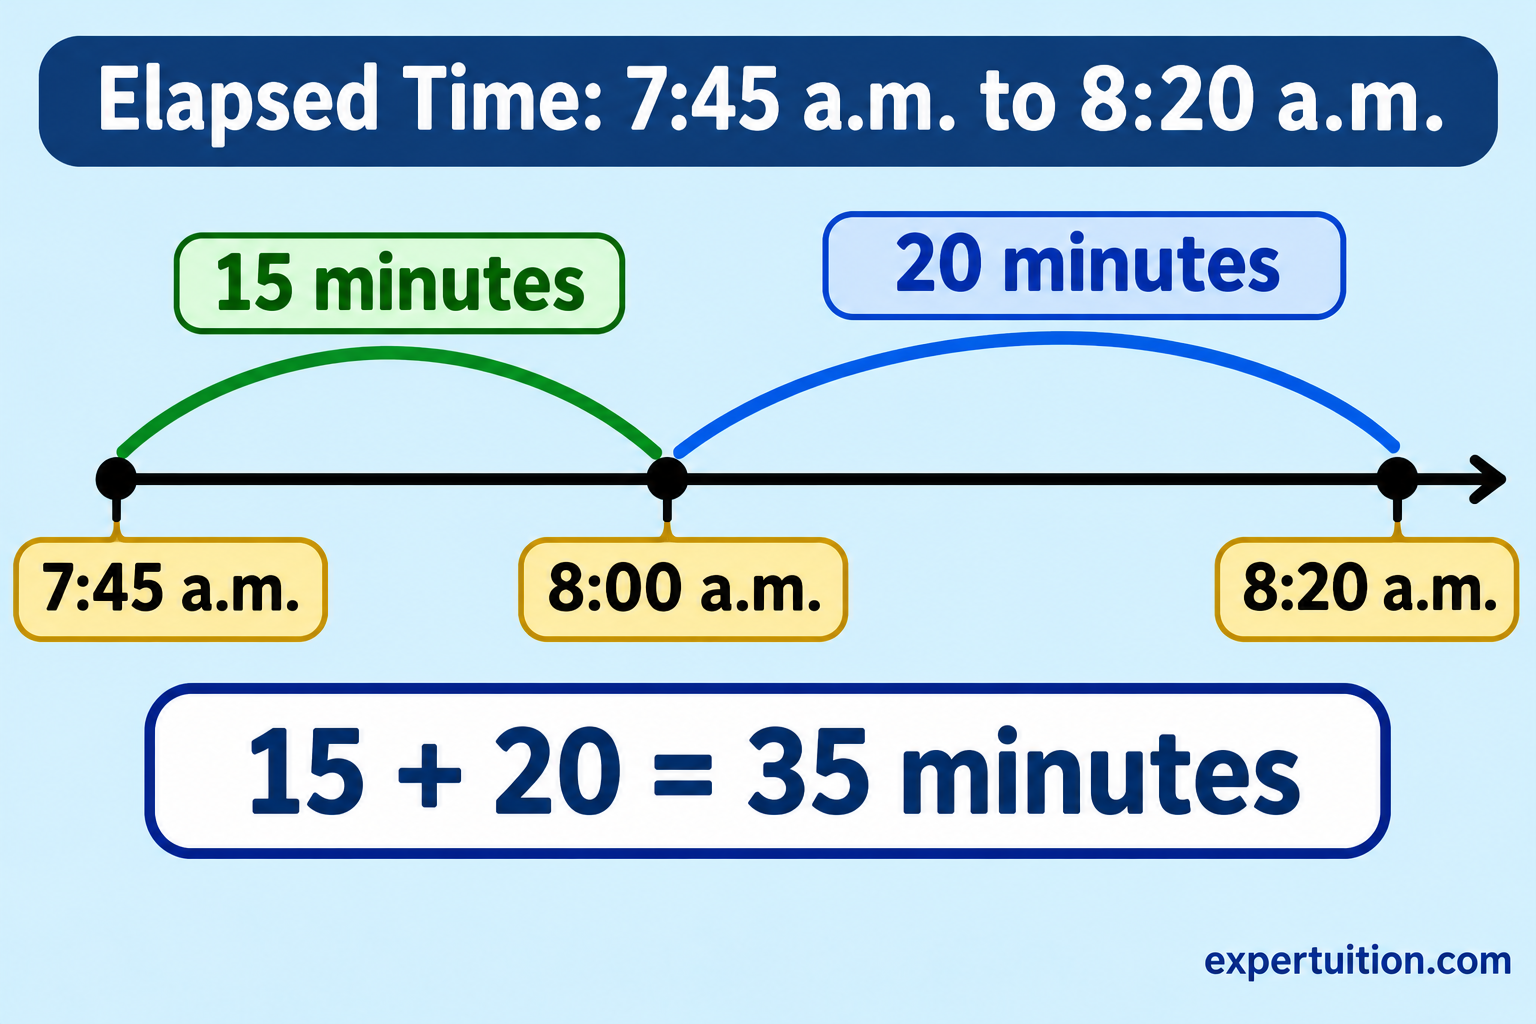
Have students label the starting and ending times and show each jump. This makes the elapsed time visible and helps them understand why the intervals are added.
A number line with a measurement scale can also represent distances, liquid volumes, and other quantities. For example, a line marked in intervals of 100 meters can help students locate and compare distances. A line marked in liters can represent quantities of liquid volume.
Make sure students understand what each interval represents. If a number line is marked in 100-meter intervals, each equal space must represent 100 meters, not an arbitrary amount.
Develop Students’ Ability to Apply the Four Operations to Measurement Problems
Give students problems that require them to use addition, subtraction, multiplication, and division across the different measurement contexts in the standard.
For distance and length, students might combine two walking distances, compare the lengths of objects, or divide a total distance into equal sections. For liquid volume and mass, they might find a combined quantity, determine how much remains, or calculate the amount in each equal group.
For example, present this multiplication problem involving mass:
Each of 4 bags contains 2 kilograms of rice. How much rice is there altogether?
Have students recognize that they need to combine four equal quantities of 2 kilograms:
4 × 2 = 8 kilograms
There are 8 kilograms of rice altogether.
Time problems can involve finding elapsed time, combining durations, or determining how much time remains before an event. Use clocks and number lines when students need to represent the intervals.
Money problems provide opportunities to use the four operations with decimal amounts. For example:
A student buys a notebook for $2.45 and a pencil case for $3.20. How much do the two items cost altogether?
First, add the prices:
$2.45 + $3.20 = $5.65
If the student pays with $10.00, ask how much change the student should receive:
$10.00 − $5.65 = $4.35
The student receives $4.35 in change.
Have students explain what each calculation represents. They should connect the addition to the total cost and the subtraction to the amount remaining after payment.
Vary the problem structures rather than presenting the same type of calculation repeatedly. Students should encounter situations where they must decide whether to find a total, a difference, an equal group, or the number of groups.
Extend Measurement Problem-Solving to Conversions, Fractions, and Decimals
Some measurement problems require students to convert units before calculating. Have them identify the units in the problem and decide whether they need to express the measurements in the same unit.
For example:
A walking trail is 2 kilometers long. A family walks 750 meters. How many meters of the trail remain?
The two measurements use different units. Convert kilometers to meters first:
2 × 1,000 = 2,000 meters
Then subtract the distance already walked:
2,000 − 750 = 1,250 meters
The family has 1,250 meters left to walk.
Include problems involving simple fractions as well. For example:
A container holds 1 liter of juice. Students drink 1/4 liter in the morning and 2/4 liter in the afternoon. How much juice do they drink altogether?
Represent the quantities with equal-sized fractional parts:
1/4 + 2/4 = 3/4 liter
Students drink 3/4 liter altogether.
Money problems provide opportunities to work with decimal amounts, as shown in the earlier example. Keep the calculations appropriate for Grade 4 and make sure students understand what the numbers and units represent.
Model How Students Can Explain and Check Their Solutions
A correct numerical answer does not always show whether a student understands the problem. Have students explain their choice of operation and connect their calculation to the original situation.
After solving a problem, guide them to:
- Identify what the answer represents.
- Check that the measurements use appropriate and consistent units.
- Review the calculation.
- Estimate or use an inverse operation to check whether the answer is reasonable.
- State the answer with its unit and explain what it means.
For example, if students calculate that a family has 1,250 meters of a 2-kilometer trail left after walking 750 meters, they should be able to explain why the original distance was converted to meters before subtracting.
For more worked examples and practice across the measurement contexts, see Grade 4 Measurement Word Problems: Strategies and Worked Examples.
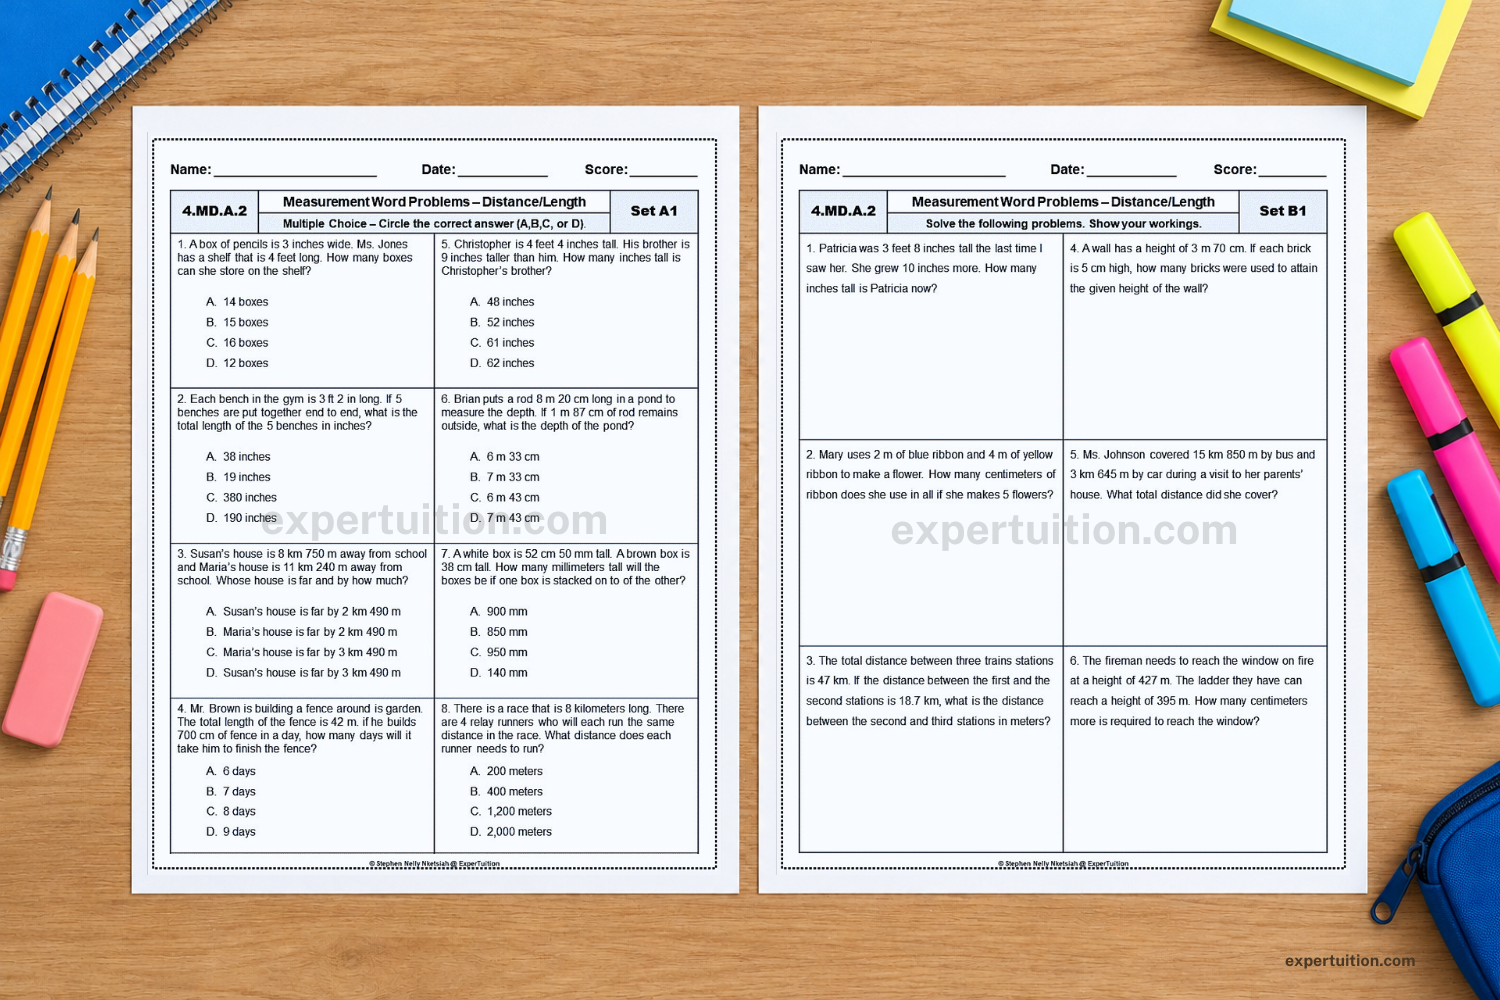
For additional classroom practice, the Measurement Word Problems Worksheets Bundle and Measurement Word Problems Task Cards Bundle offer separate practice formats. You can also explore the Measurement Word Problems collection for additional resources.
Teach Rectangle Area and Perimeter Through Models and Mathematical Applications
Grade 4 standard 4.MD.A.3 requires students to apply the area and perimeter formulas for rectangles in real-world and mathematical problems. Students need to understand what each measurement represents, how the formulas relate to the dimensions of a rectangle, and how to use a known area or perimeter to find an unknown dimension.
Help Students Understand the Difference Between Area and Perimeter
Begin with a rectangle students can see or create on grid paper. Ask them to identify two different quantities: the distance around the rectangle and the surface covered inside it.
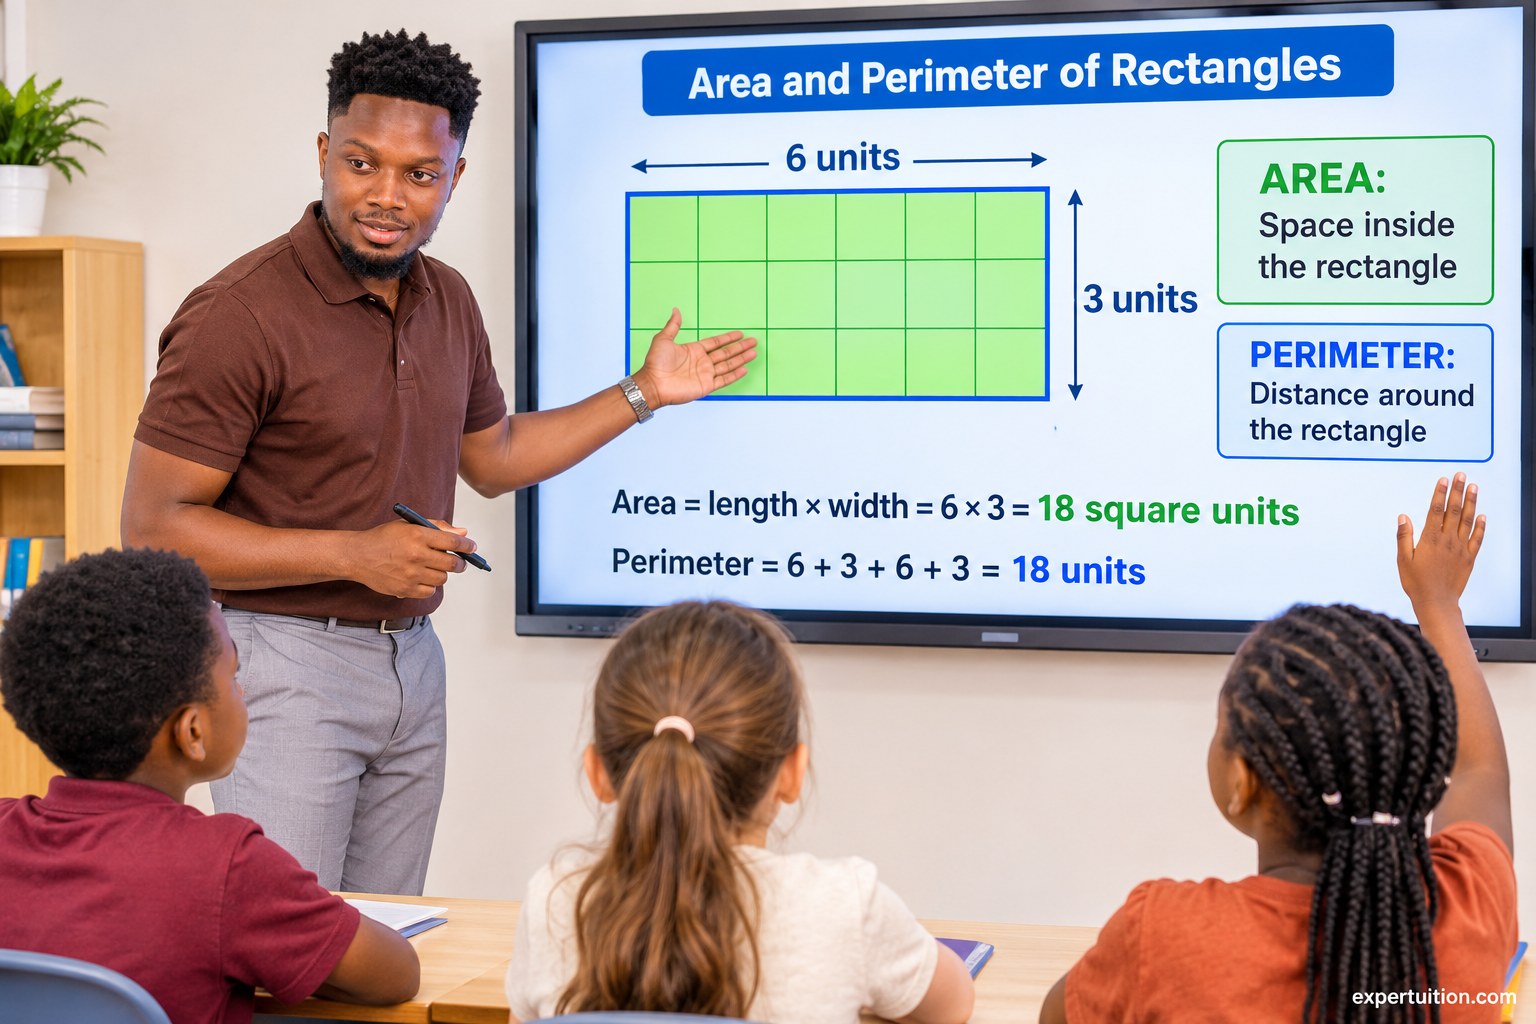
Perimeter measures the distance around a shape. Area measures the surface covered by a shape. These describe different attributes, so students must identify what a problem asks them to measure before choosing a calculation.
Use familiar situations to make the distinction clear. The amount of fencing needed around a rectangular garden relates to perimeter. The amount of flooring needed to cover a rectangular room relates to area.
Draw a rectangle and trace its boundary with a colored pencil. Then shade the inside. Ask students to explain which part represents perimeter and which represents area.
Give them a few situations to classify. For each one, ask whether they would need to calculate area, perimeter, or both. Have them explain their choices rather than relying on the words in the problem alone.
Develop Area Understanding Using Unit Squares and Arrays
Use square tiles or grid paper to build rectangles with different dimensions. Have students cover each rectangle with unit squares, making sure there are no gaps or overlaps.
For a rectangle with 6 columns and 4 rows, students can count the squares in each row:
6 + 6 + 6 + 6 = 24
Then connect repeated addition to multiplication:
6 × 4 = 24 square units
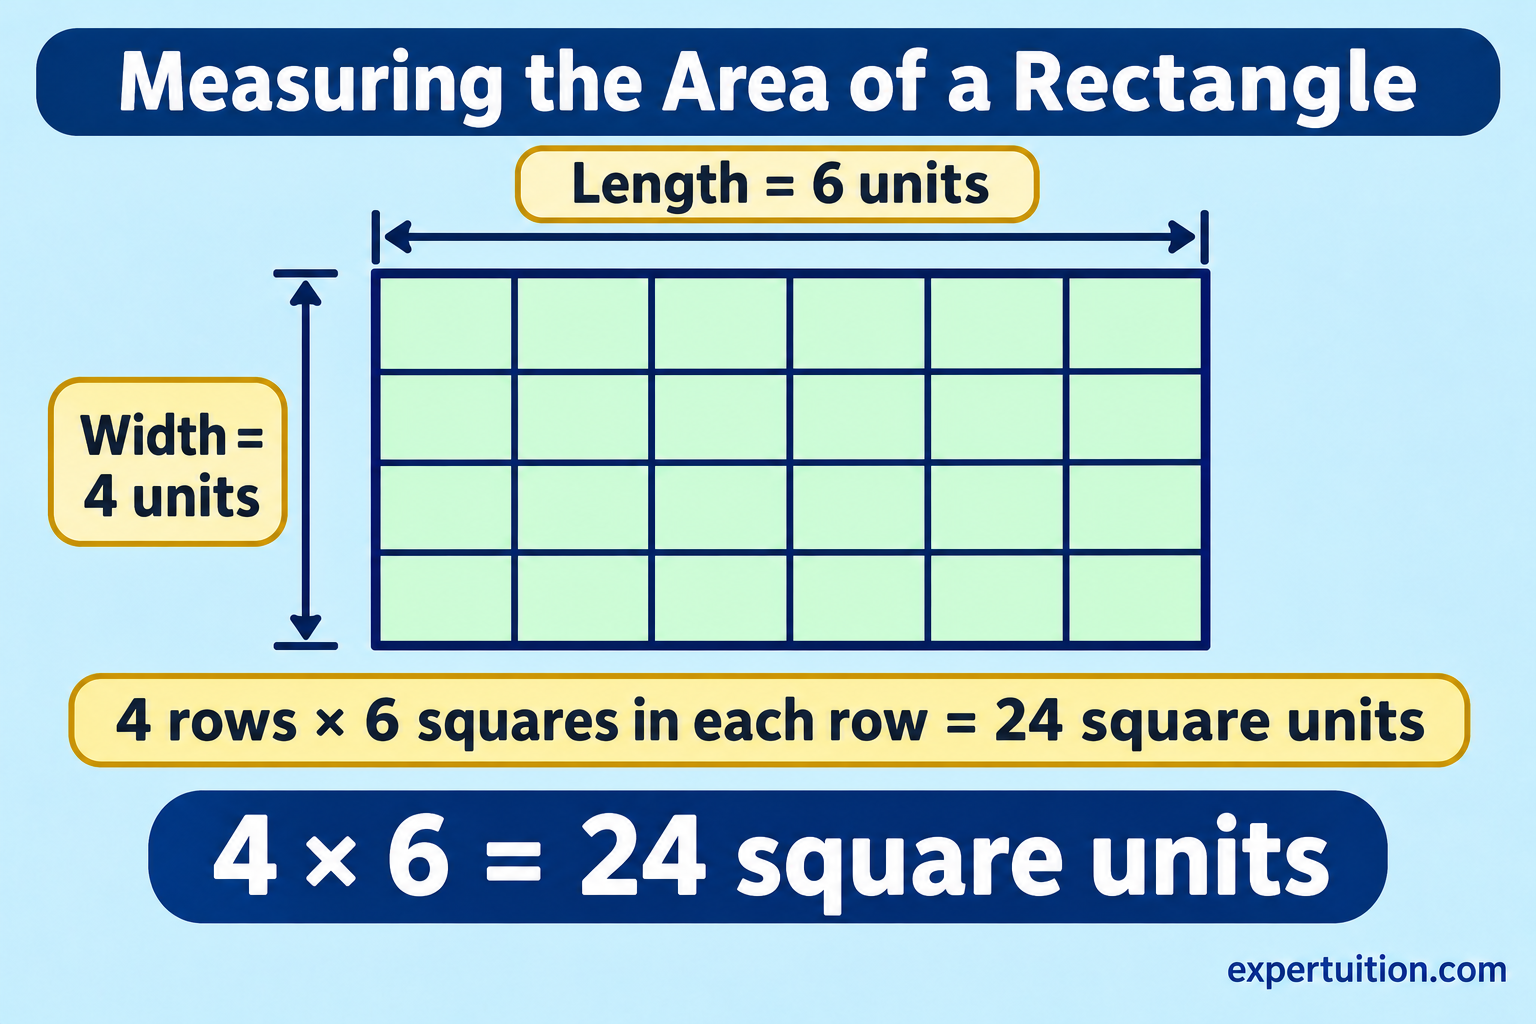
Ask students what the two factors represent. One factor represents the number of unit squares in each row, and the other represents the number of rows. This shows why multiplying the rectangle’s length by its width gives the total number of square units.
Once students can explain the relationship using the array, introduce the area formula:
A = length × width
Give students rectangles with different dimensions and ask them to predict the area before counting the squares. They can then multiply the dimensions and compare their answers with the grid model.
Emphasize that area is expressed in square units, such as square centimeters (cm²) or square meters (m²). The unit is squared because area measures how many unit squares cover a surface.
Develop Perimeter Understanding by Measuring Rectangle Boundaries
Give students rectangles made from grid paper, string, or other materials. Have them trace the boundary and measure each side.
A rectangle has two pairs of equal opposite sides. Students can add all four side lengths to find the perimeter. For a rectangle with a length of 8 centimeters and a width of 3 centimeters, they can calculate:
8 + 3 + 8 + 3 = 22 cm
Then connect the repeated side lengths to the perimeter formula:
P = 2 × length + 2 × width
Use the example to show why adding the length and width only once does not give the full perimeter. Students must account for all four sides.
Give them rectangles with different dimensions and have them find the perimeter by adding the side lengths. Once they recognize the pairs of equal sides, they can use the formula more efficiently.
Keep the units visible throughout the activity. Perimeter uses linear units, such as centimeters or meters, while area uses square units. Ask students to explain why the units are different. This helps prevent them from treating area and perimeter as interchangeable measurements.
Connect Area and Perimeter Formulas to Problem-Solving
Once students can explain the formulas using models, introduce problems where one dimension is unknown.
For example:
A rectangular floor has an area of 48 square feet and a length of 8 feet. What is its width?
Start with the relationship between area, length, and width:
Area = length × width
Substitute the known values:
48 = 8 × width
Students can find the missing factor by dividing:
48 ÷ 8 = 6
The width is 6 feet.
Connect the calculation to the rectangle model. If the floor covers 48 square feet and has 8 rows of square feet, each row must contain 6 square feet. The missing width is therefore 6 feet.
Use similar problems involving perimeter. For example, if students know the perimeter and one side length, have them account for both pairs of equal sides before finding the missing dimension.
A useful approach is to draw and label the rectangle first. Students can then identify the known dimensions, represent the unknown, and decide which relationship will help them solve the problem. This encourages them to treat an unknown dimension as a missing factor or side length rather than simply search for a formula to substitute into.
Apply Area and Perimeter to Real-World and Mathematical Problems
Give students problems that require them to decide whether to calculate area, perimeter, or both.
For example, students might plan a rectangular garden and determine how much fencing is needed around it. They might also calculate how much ground the garden covers. The first question involves perimeter; the second involves area.
As an extension, use comparison activities to deepen students’ understanding of the relationship between area and perimeter. Rectangles with the same perimeter do not necessarily have the same area, and rectangles with the same area do not necessarily have the same perimeter. Although this comparison goes beyond the specific Grade 4 expectation in 4.MD.A.3, it can help students explore how the two measurements differ.
On grid paper, have students draw two rectangles with the same perimeter but different areas. Then ask them to draw two rectangles with the same area but different perimeters. For each pair, have students calculate both measurements and explain what changed and what stayed the same.
Vary the information provided in other problems. Some can give both dimensions, while others can provide the area or perimeter and one known side. Include situations where students must explain why a particular measurement is needed.
Have students draw and label a rectangle before calculating. This is especially useful when a problem includes an unknown dimension or asks for both area and perimeter. The drawing gives them a way to organize the information and check whether their answers make sense.
For a more detailed mathematical explanation of formulas, models, missing dimensions, and worked problems, see Grade 4 Area and Perimeter of Rectangles: Formulas, Examples, and Word Problems.
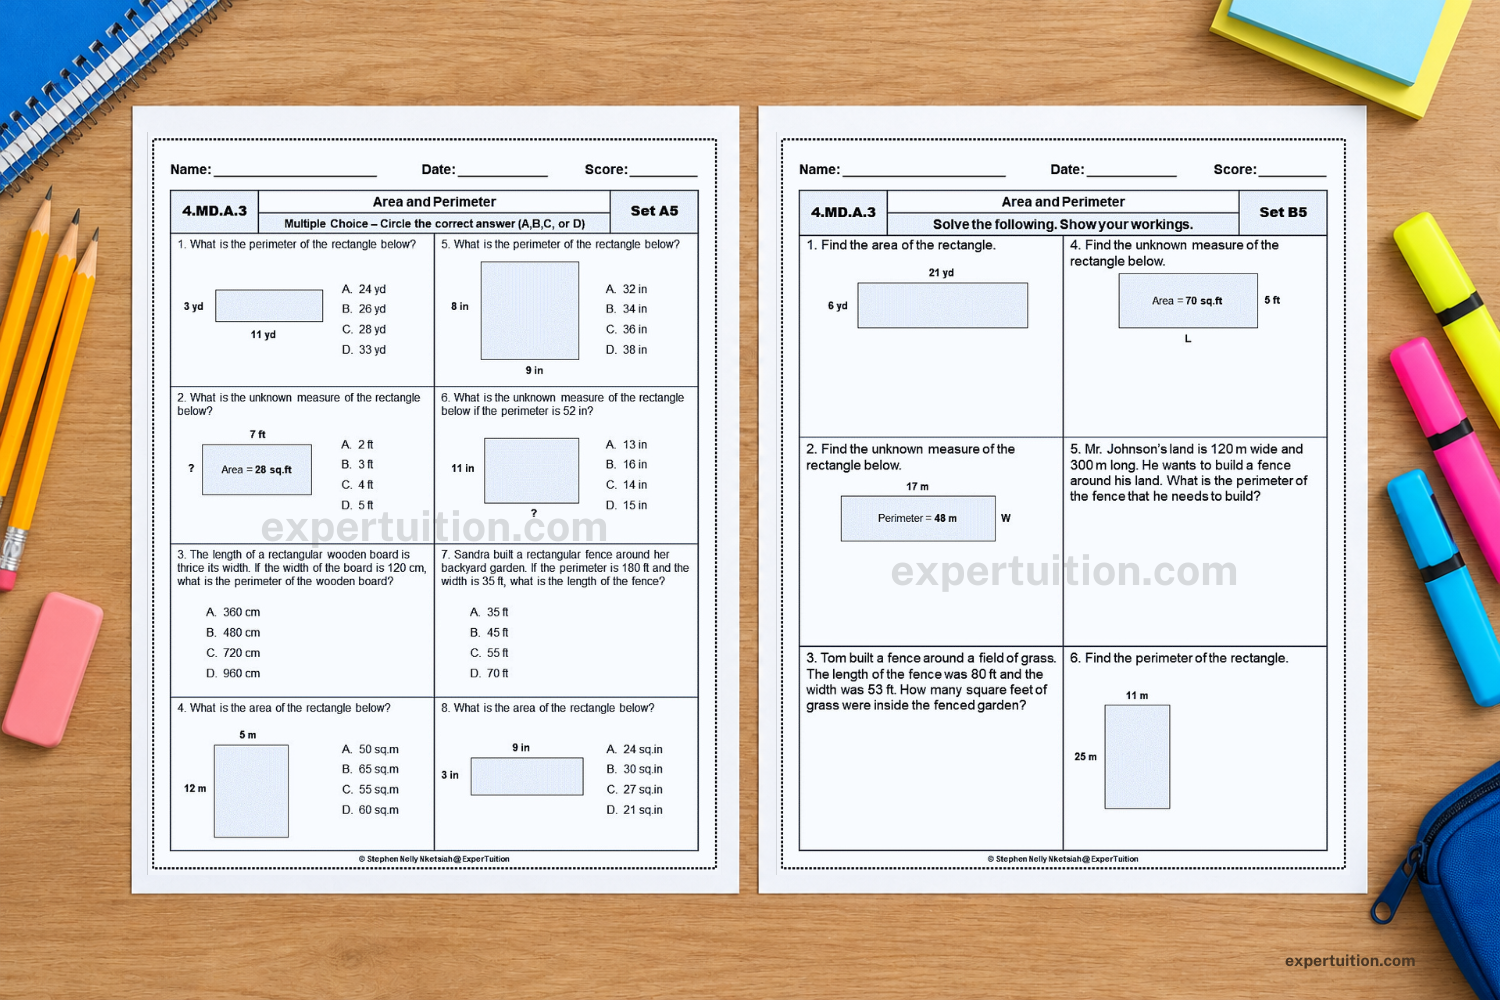
For additional practice, explore the Area and Perimeter collection for worksheets and task cards.
Assess Students’ Measurement Understanding and Build Independent Application
Students need to demonstrate that they can apply measurement concepts in different situations, not just repeat a procedure immediately after a lesson. Use short assessments and targeted problems to identify what they understand, where they are making errors, and what kind of instruction they need next.
Check Understanding Across the Three Measurement Standards
Assess the three standards separately before combining them in mixed review activities. Choose questions that reveal students’ reasoning as well as their ability to calculate.
For 4.MD.A.1, check whether students can:
- Explain relationships between units within the same measurement system.
- Express measurements in larger units as smaller units.
- Complete and interpret two-column equivalent-measurement tables.
- Explain why the numerical value changes when the unit changes.
For 4.MD.A.2, check whether students can:
- Interpret problems involving distances, time intervals, liquid volumes, masses, and money.
- Select and use the four operations appropriately.
- Convert measurements when necessary.
- Solve problems involving simple fractions or decimals.
- Represent measurement quantities using diagrams, including scaled number lines.
- Explain what their answers represent and check whether they are reasonable.
For 4.MD.A.3, check whether students can:
- Distinguish area from perimeter.
- Apply the appropriate rectangle formula.
- Use square units for area and linear units for perimeter.
- Find an unknown dimension when enough information is provided.
- Apply their understanding to real-world and mathematical problems.
Use exit tickets, short written explanations, and carefully selected problems. For example, a conversion question can ask students to explain why 3 feet equals 36 inches. A word problem can ask them to draw a number line before calculating elapsed time. An area problem can provide the area and one side length, requiring students to find the missing dimension.
These tasks reveal whether students understand the relationships behind their calculations, not just whether they can produce an answer.
Use Student Errors to Guide Further Instruction
Pay attention to how students arrive at incorrect answers. Their work often shows whether the difficulty involves understanding the units, interpreting the problem, selecting an operation, or carrying out a calculation.
If a student converts 4 feet to 4 inches, return to the measuring strip and show that each foot contains 12 inches. Have the student represent four groups of 12 before writing the multiplication equation.
If a student understands the conversion relationship but makes a multiplication error, provide targeted practice with the relevant facts rather than reteaching the entire conversion lesson.
When students struggle with measurement word problems, examine how they interpret the quantities. Ask them to explain what is happening and draw a model before choosing an operation. If they can represent the situation correctly but calculate incorrectly, focus on the calculation rather than repeating the entire problem-solving process.
If students confuse area and perimeter, return to the rectangle model. Have them trace the boundary and cover the interior with unit squares. Ask them to explain what each measurement counts and why the units differ.
Use the specific misunderstanding to choose the next instructional step. A different model, a guided example, or targeted practice may be more useful than assigning another worksheet with the same type of question.
Move from Guided Practice to Independent Measurement Problem-Solving
Begin with problems that focus on one skill. Once students can explain their methods, combine different measurement questions in a mixed review.
For example, a review activity might include:
- Completing a two-column table of equivalent measurements.
- Solving a time-interval problem using a scaled number line.
- Solving a money problem involving decimal amounts.
- Finding the missing width of a rectangle when its area and length are known.
Students must identify what each problem requires and select an appropriate strategy without being told which procedure to use.
Worksheets provide space for calculations and written explanations. Task cards offer opportunities for partner work, Math centers, and short practice sessions. Digital assessments provide another way to check individual understanding. Choose the format according to the purpose of the activity and the evidence you want to collect.
As students become more independent, include multi-step problems that require them to combine measurement skills. Ask them to explain their choices, represent the quantities, and check their answers.
The goal is for students to do more than remember conversion facts and formulas. They should be able to reason about measurements, recognize relationships between quantities, and choose strategies that fit the problem. When instruction connects hands-on experiences with models, calculations, and real-world applications, students develop a stronger foundation for using measurement independently.