Teaching students to measure and sketch angles with a protractor is an essential part of developing their understanding of geometry. In this post, we’ll explore step-by-step strategies to help students measure and draw angles accurately and confidently using a protractor, with ready-to-use resources for practice.
Understanding the Concept of Angle Measurement
Before students begin using a protractor, it is important to ensure they understand what an angle represents.
An angle is formed when two rays share a common endpoint, called the vertex.
Angles measure the amount of rotation from one ray to another, and this rotation is measured in degrees.
Explain to students that a full circle is 360°, a half-turn (straight angle) is 180°, and a quarter-turn (right angle) is 90°.
This understanding will help them interpret what the numbers on a protractor actually represent.
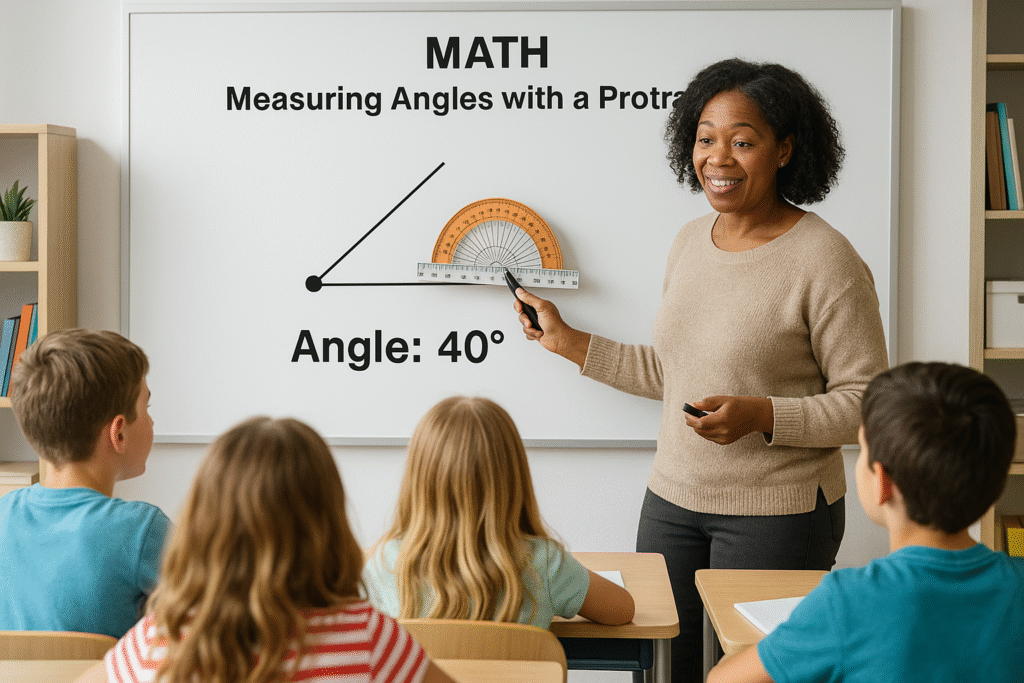
Introducing the Protractor
A protractor is a measurement tool used to measure or draw angles in degrees.
It typically has two sets of numbers that increase in opposite directions.
Students often find this confusing at first, so explicit instruction and modeling are essential.
Teaching the Parts of a Protractor
Display a large model (digital or physical) and point out:
- The midpoint or center hole – aligns with the vertex of the angle.
- The baseline – must line up with one ray of the angle.
- The degree markings – show the measure of rotation between rays.
Give students time to handle their protractors and identify these parts themselves.
You might ask:
“Where does the vertex of the angle go?”
“Which line should you align with the baseline?”
“Which scale do you use to measure this angle?”
This exploration phase sets students up for success when they begin measuring.
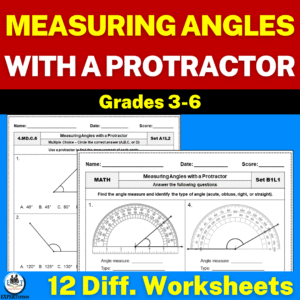
Measuring Angles with a Protractor
Once students understand what an angle is and how a protractor is structured, guide them through the process of measuring angles.
Step-by-Step Instruction
- Place the midpoint of the protractor on the vertex of the angle.
- Align the baseline of the protractor with one ray of the angle.
- Read the degree measure where the other ray crosses the protractor scale.
- Check the scale direction – start counting from 0° on the ray that’s aligned with the baseline.
Model this process multiple times with different angles, using both acute and obtuse examples.
Encourage students to reason through which scale makes sense:
“If this ray opens less than a right angle, should my measurement be more or less than 90°?”
This kind of reasoning strengthens number sense and helps students avoid common errors.
Common Challenges
- Reading from the wrong scale.
- Misaligning the vertex with the center of the protractor.
- Believing longer rays mean a larger angle.
You can address these by demonstrating errors intentionally and discussing why they lead to incorrect answers.
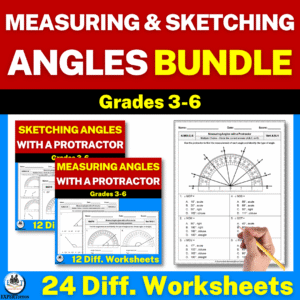
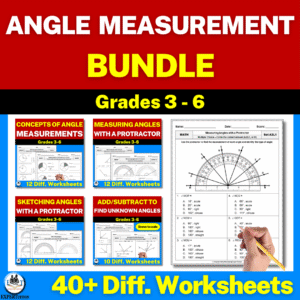
For structured practice, the Measuring Angles with a Protractor Worksheets offer both Level 1 (with protractors) and Level 2 (without protractors) sheets.
Level 1 provides scaffolding for beginners, while Level 2 encourages independent application.
-
 $ 4.00
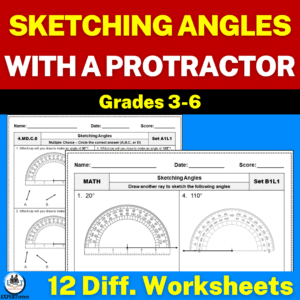
Sketching Angles with a Protractor
After students can measure angles, they are ready to draw or sketch them using a protractor.
This reinforces measurement understanding because it requires students to think about what specific degree measures look like.
Step-by-Step Instruction
- Draw a baseline – one ray of the angle.
- Place the midpoint of the protractor at one end of the line (the vertex).
- Locate the desired degree mark on the correct scale.
- Make a small dot at that mark.
- Remove the protractor and draw the second ray connecting the vertex to the dot.
Have students label each angle’s measure and classify it (acute, right, obtuse, or straight).
This reinforces both vocabulary and geometric reasoning.
To support accuracy and engagement, the Sketching Angles with a Protractor Worksheets provide structured and differentiated practice at two levels — with and without protractors printed on the page.
-
$ 4.00
Assessment and Practice Ideas
To assess student understanding:
- Give quick exit tickets where students measure or draw an angle of a specific size.
- Use open-ended prompts such as “Draw an obtuse angle that measures 120°.”
- Encourage peer checks to build accuracy and communication skills.
Consistent practice is essential for mastery.
Use short, daily exercises as warm-ups or review tasks to keep the skill fresh throughout the unit.
The differentiated worksheets and answer keys make it easy to check work quickly and give timely feedback.
Final Thoughts
Measuring and sketching angles with a protractor is more than a geometry skill — it’s an opportunity to connect abstract numbers to concrete reasoning.
Through clear instruction, visual models, and consistent practice, your students can confidently describe, measure, and construct angles.
SAVE WITH BUNDLES (20% OFF)
-
Product on saleOriginal price was: $ 8.00.$ 6.40Current price is: $ 6.40.
-
Product on saleOriginal price was: $ 15.75.$ 12.60Current price is: $ 12.60.